Reading a tape measure might be tricky at first. However, once you have it, you will understand its value. It means understanding the numbers and lines. So you can measure things accurately every time. Whether you’re fixing stuff at home, sewing, or building something, getting the measurement right helps you avoid costly mistakes and saves time.
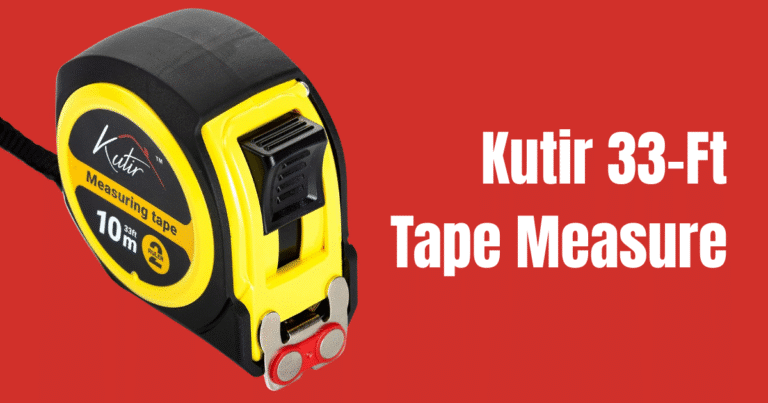
To read a tape, start by looking at the big numbers for whole inches. Then use the smaller lines for halves, quarters, eighths, and sixteenths. If you need the measurement in metric, just flip the tape over to centimeters and millimeters. With a bit of practice, you’ll be reading your tape measure like a pro in no time.
At Kutir Tools, we know having the right tools makes all the difference, so check out our range to help you measure and build with confidence!
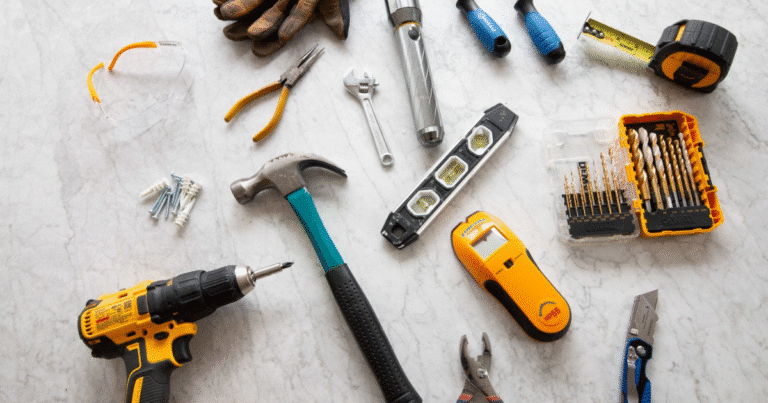
Why You Need a Tape Measure
A tape measure is one of the most useful tools you can have. It helps you get exact measurements for any project. Whether you’re fixing something, building, or sewing, measuring right is really important. Without it, you might cut things too short or buy the wrong size. That wastes time and money.
Using a tape measure takes away the guesswork. It gives you clear numbers every time you measure. This way, your work looks neat and fits perfectly. When you have a tape measure with you, you’re ready for any job, be it big or small. And you can feel confident doing it right.
How to Read A Tape Measure Step-by-Step
Step 1. Know the Parts of Your Tape Measure
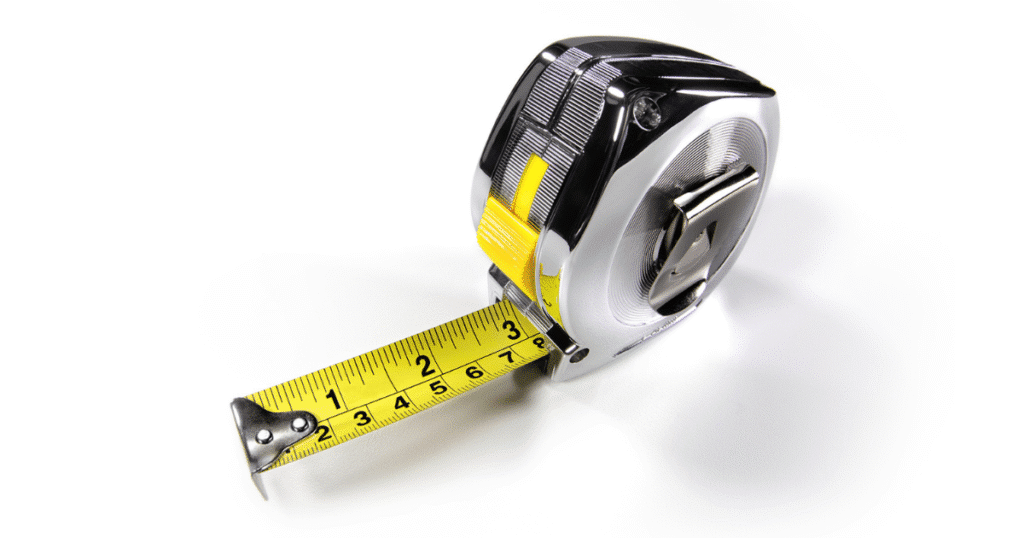
First up, check out your tape measure. See that little metal hook at the end? That’s your secret weapon for grabbing edges when you measure stuff. The long strip with all the numbers and lines? That’s called the blade. It’s kind of like the ruler part. And don’t forget the lock button, it holds the tape steady so it doesn’t snap back on you. (Yeah, that’s saved me a few times from a finger slap!)
Okay, now that we know the parts, let’s move on to the good stuff. Reading those numbers!
Step 2. Read the Big Numbers The Whole Inches
Look for the big numbers on the tape. These are your full inches, like 1, 2, 3, and so on. Each big number has a long line next to it. When the tape ends exactly on one of these lines, congrats! You’ve measured that many inches. Easy, right?
Now, don’t get too comfy, because the next step is where things get interesting… fractions!
Step 3. Understand the Smaller Lines
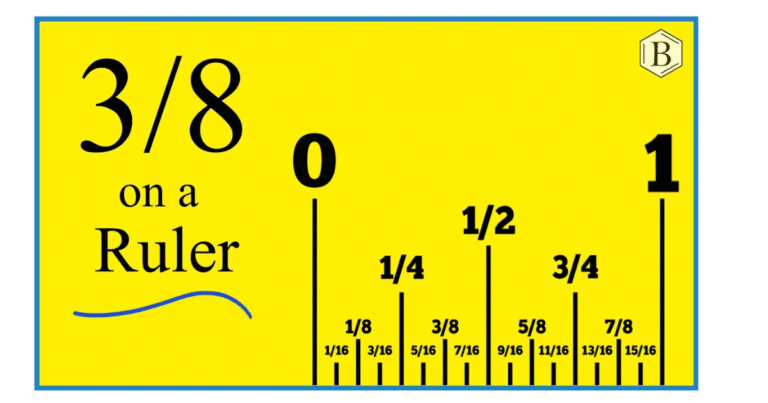
Between each whole inch, you’ll see smaller lines. These show parts of an inch, called fractions. Here’s the lowdown:
- The longest small lines are half inches (that’s ½).
- Next up are quarter inches (¼ and ¾).
- Then come eighth inches (1/8, 3/8, 5/8, 7/8).
- And the tiniest lines? Those are sixteenth inches (1/16, 3/16, and so on).
Think of these like slicing a pizza. You can have a big slice (half), medium slices (quarters), smaller slices (eighths), and tiny slices (sixteenths). Yum!
Ready for the magic moment? Let’s put all this together…
Step 4. How to Read Your Measurement
So say the tape stops just a little past the 3-inch mark and lands on the third tiny line after it. That means you’re looking at 3 and 3/16 inches. It’s just like counting how many little pizza slices past the 3-inch line you got.
Don’t worry if it feels tricky now. It gets faster with practice, and soon you’ll impress everyone with your measuring skills!
Step 5. Reading the Metric Side (Centimeters and Millimeters)
Flip your tape over and check out the metric side. The big numbers here are centimeters (cm). Each centimeter is divided into 10 tiny parts, called millimeters (mm), so 1 cm equals 10 mm.
Each little line between the centimeters is one millimeter. For example, if you see 7 big lines and then 5 little lines after that, you’ve got 7 centimeters and 5 millimeters or 7.5 cm.
Here’s a cool tip: metric is great because it’s all based on tens. So no weird fractions. Just easy counting! If you ever get stuck with inches, flip the tape and give metric a try.
How Do You Use a Tape Measure Correctly?
Here’s how to use a tape measure the right way. First, hook the little metal end onto the edge of what you want to measure. This keeps it steady.
Next, pull the tape out straight and tight. Don’t let it bend or droop, as that can mess up your measurement. When you get to the right spot, press the lock button to keep the tape from moving.
If you’re measuring inside something, like a window, hook one side and stretch the tape across. For outside things, just lay the tape along the edge. If the shape is curved, measure in small parts and add them together.
And one more thing. Always measure twice to make sure your numbers are right. It will save you time and trouble later!
Choosing the Right Tape Measure for Your Needs
Picking the right tape measure makes measuring easier and more accurate. Here’s what to think about:
Length: For most home projects, a tape between 16 and 25 feet is perfect. If you work on bigger jobs, consider longer tapes like 30 or 50 feet to measure large areas without help.
Width: A wider tape (about 1 inch or more) is easier to read and stays straighter when pulled out. This helps when measuring longer distances alone.
Type: Steel tapes are durable and great for most tasks. Cloth or fiberglass tapes are flexible, perfect for measuring curves or fabric. Digital tapes show measurements on a screen, making reading quick and simple.
Blade Material: Tapes with a nylon coating protect numbers from fading and resist rust, making them last longer, especially outside or in wet areas.
Lock Quality: A strong, easy-to-use lock keeps the tape from sliding back while you measure, so your numbers stay accurate.
Case Design: Durable cases with comfortable grips handle drops better and make the tape easier to hold during long jobs.
Measurement Units: Some tapes show inches and feet, others metric (centimeters and millimeters), and some have both. Pick the one that fits your needs best.
Tape Measure Tips You Should Know
A tape measure is simple, but a few tips can help you use it like a pro. Check these out:
- Keep it straight: Pull the tape out tight and straight. If it bends or droops, your measurement won’t be right.
- Lock it in place: Use the lock button to stop the tape from sliding back. This way, you can focus on reading the number.
- Measure twice: Don’t skip this! Measuring twice helps avoid mistakes and wasted materials.
- Know where to start: Most tapes measure from the hook, but some have marks for inside edges. Make sure you’re reading the right side.
- Practice fractions: Those small lines can be tricky. Practice reading halves, quarters, eighths, and sixteenths to get comfortable.
- Try the metric side: If inches confuse you, flip the tape and use centimeters and millimeters. It’s simple and precise.
- Take your time: Don’t rush. Line up your tape carefully and read the numbers slowly.
Maintenance and Care for Your Tape Measure
Taking care of your tape measure is easy. After each use, wipe off dirt and moisture to keep it clean. When pulling the tape back, guide it slowly to avoid damage.
Store your tape in a dry place to prevent rust. Check the metal hook regularly. It should move a bit and not be bent for accurate measuring.
When you’re retracting the tape, don’t let it snap back too fast. Guide it in slowly so you don’t bend or damage it.
Try not to drop your tape measure, as it can break or bend. If it sticks when retracting, a little silicone spray can help. Replace your tape if the numbers fade or the blade bends.
Frequently Asked Questions
Question: Why are there two sets of numbers on some tape measures?
Answer: Many tapes show both imperial (inches and feet) and metric (centimeters and millimeters) units. This helps you work with different measurement systems easily.
Question: Why does the metal hook move on my tape measure?
Answer: The hook is designed to slide a little so you can measure both inside and outside edges accurately. It adjusts for its own thickness to give you a correct measurement.
Question: How can I check if my tape measure is accurate?
Answer: Measure something with a known length, like a ruler or a piece of wood marked clearly. If the numbers match, your tape measure is accurate. Also, make sure the hook isn’t bent and the tape blade isn’t damaged.
Bottom Line
Using a tape measure the right way can make all the difference in your projects. When you know how to read the numbers, use the tape properly, and choose the right one, measuring becomes quick and easy. Taking care of your tape measure and practicing will help you avoid mistakes and get the job done right the first time.
Remember, having the right tools is key to success. With a good tape measure and a little confidence, you can tackle any project with ease. For reliable, high-quality tools, be sure to check out Kutir Tools. We’re here to support you every step of the way.